
Drywall
Drywall Installation Services by
MB Construction Group
MB construction group is your best bet for a comprehensive range of drywall installation services in London and the Greater Toronto Area. With over many years of expertise, we know how to install and board your drywall correctly the first time. Our drywall and taping contractors in Toronto have the knowledge and experience required to provide high-quality drywall services to both residential and commercial clients.
We have a team of trained artisans that can handle any size drywall project, no matter how large or small.
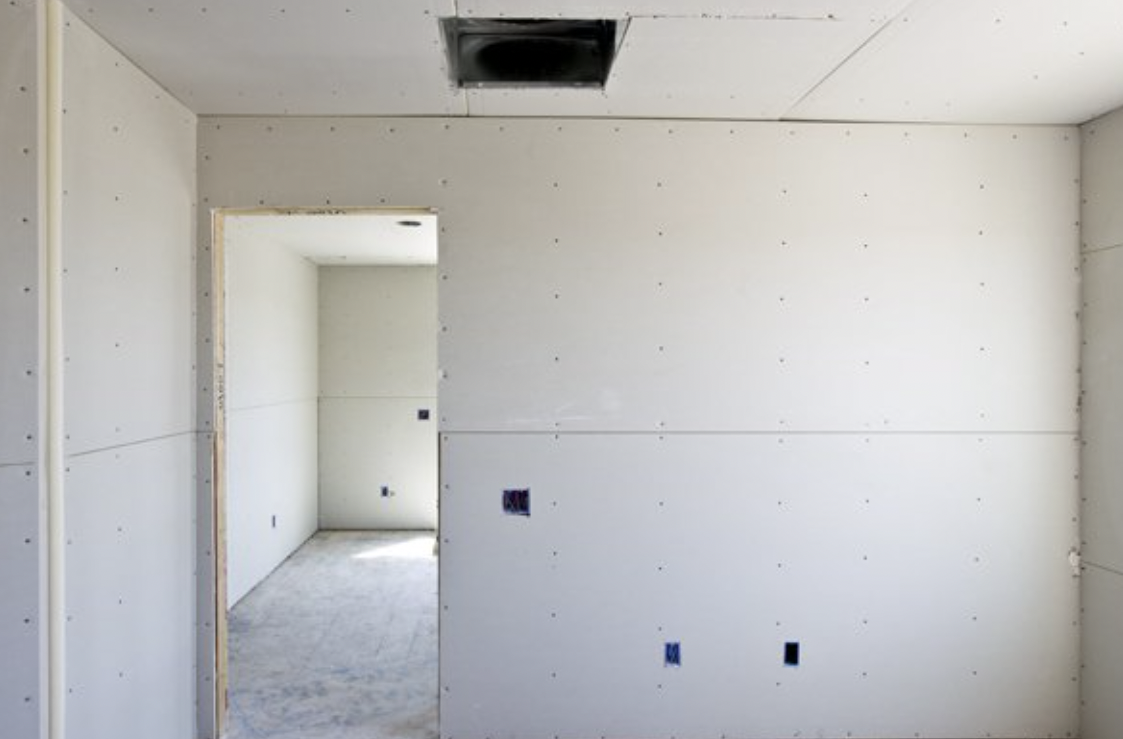
Our Step-by-Step Procedure
We travel to the job site to properly measure all walls and ceilings for accurate estimation or order.
If there is a flaw in the framing before hanging the drywall, we will correct it for a straight finish after approval.
Our hand-picked trained boarders will ensure that everything is correctly measured, with no gaps left in any corners or joints.
All beads and screws are securely tucked in for a tight grip.
We clean the location after approval and prepare it for tapers.
Call us now at +1-519-870-9661 to set up a free estimate. We are excited to collaborate with you on your next home or commercial drywall job.
What do we do for drywall hangings?
- Measure and cut drywall for the ceiling
Measure out from a corner perpendicular to the strapping or joists to establish where the first panel's end will rest.
If the panel does not span the whole width of the ceiling, its end must rest on the center of a strapping piece or joist. If it doesn't, measure to the middle of the panel's furthest support piece. Transfer that measurement to the first panel's edge and mark it.
- Cover the ceiling
Hoist the first panel into one corner of the ceiling with the help of assistance. The edges should be perpendicular to the strapping or joists, with one end flush against the wall.
Drive five equally spaced screws across the width of the panel and into the joist or strap closest to the center of the panel while the assistant supports it.
- Using a rotary cut-out tool
Measure from the center of the box to the near end of the last panel installed before laying a sheet of drywall over the electrical box of a ceiling fixture. Mark the end of the panel where the tape measure meets it and measure the distance.
Cover the box with another panel; do not drive screws closer than 24 inches to the box.
- Cover the wall
Mark all the stud locations on the adjoining ceiling panels.
- Trim around doors and windows
Install the next row of panels in the same manner as in the above steps, butting the edges together closely. (On the bottom row, pry the panel 12 inch up from the floor with a drywall lifter to allow for frame shrinkage.) As with the ceiling, place the end joints at least 4 feet apart from those in the preceding row.
- Finishing touches
Check for protruding screw heads after all of the drywall has been placed. If you locate any, carefully push them in a little below the drywall panel's surface.
Look for screws that have been pushed too deeply and have torn through the paper face. Replace any screws that have broken through the paper with a second screw.
Sweep the floor clean, clear away any debris, and the area is ready for drywall finishing.
MB construction group has competent team members so you can contact us any time.